Griddle Temperature Control Mastery: How to Use Infrared Thermometers for Perfect Searing
By blackstoneproductsshop | Published: 2026-06-11
Category: How-to Guides
Learn to master griddle temperature control with an infrared thermometer. Discover searing temps, heat zones, and pro tips for perfect results every time.
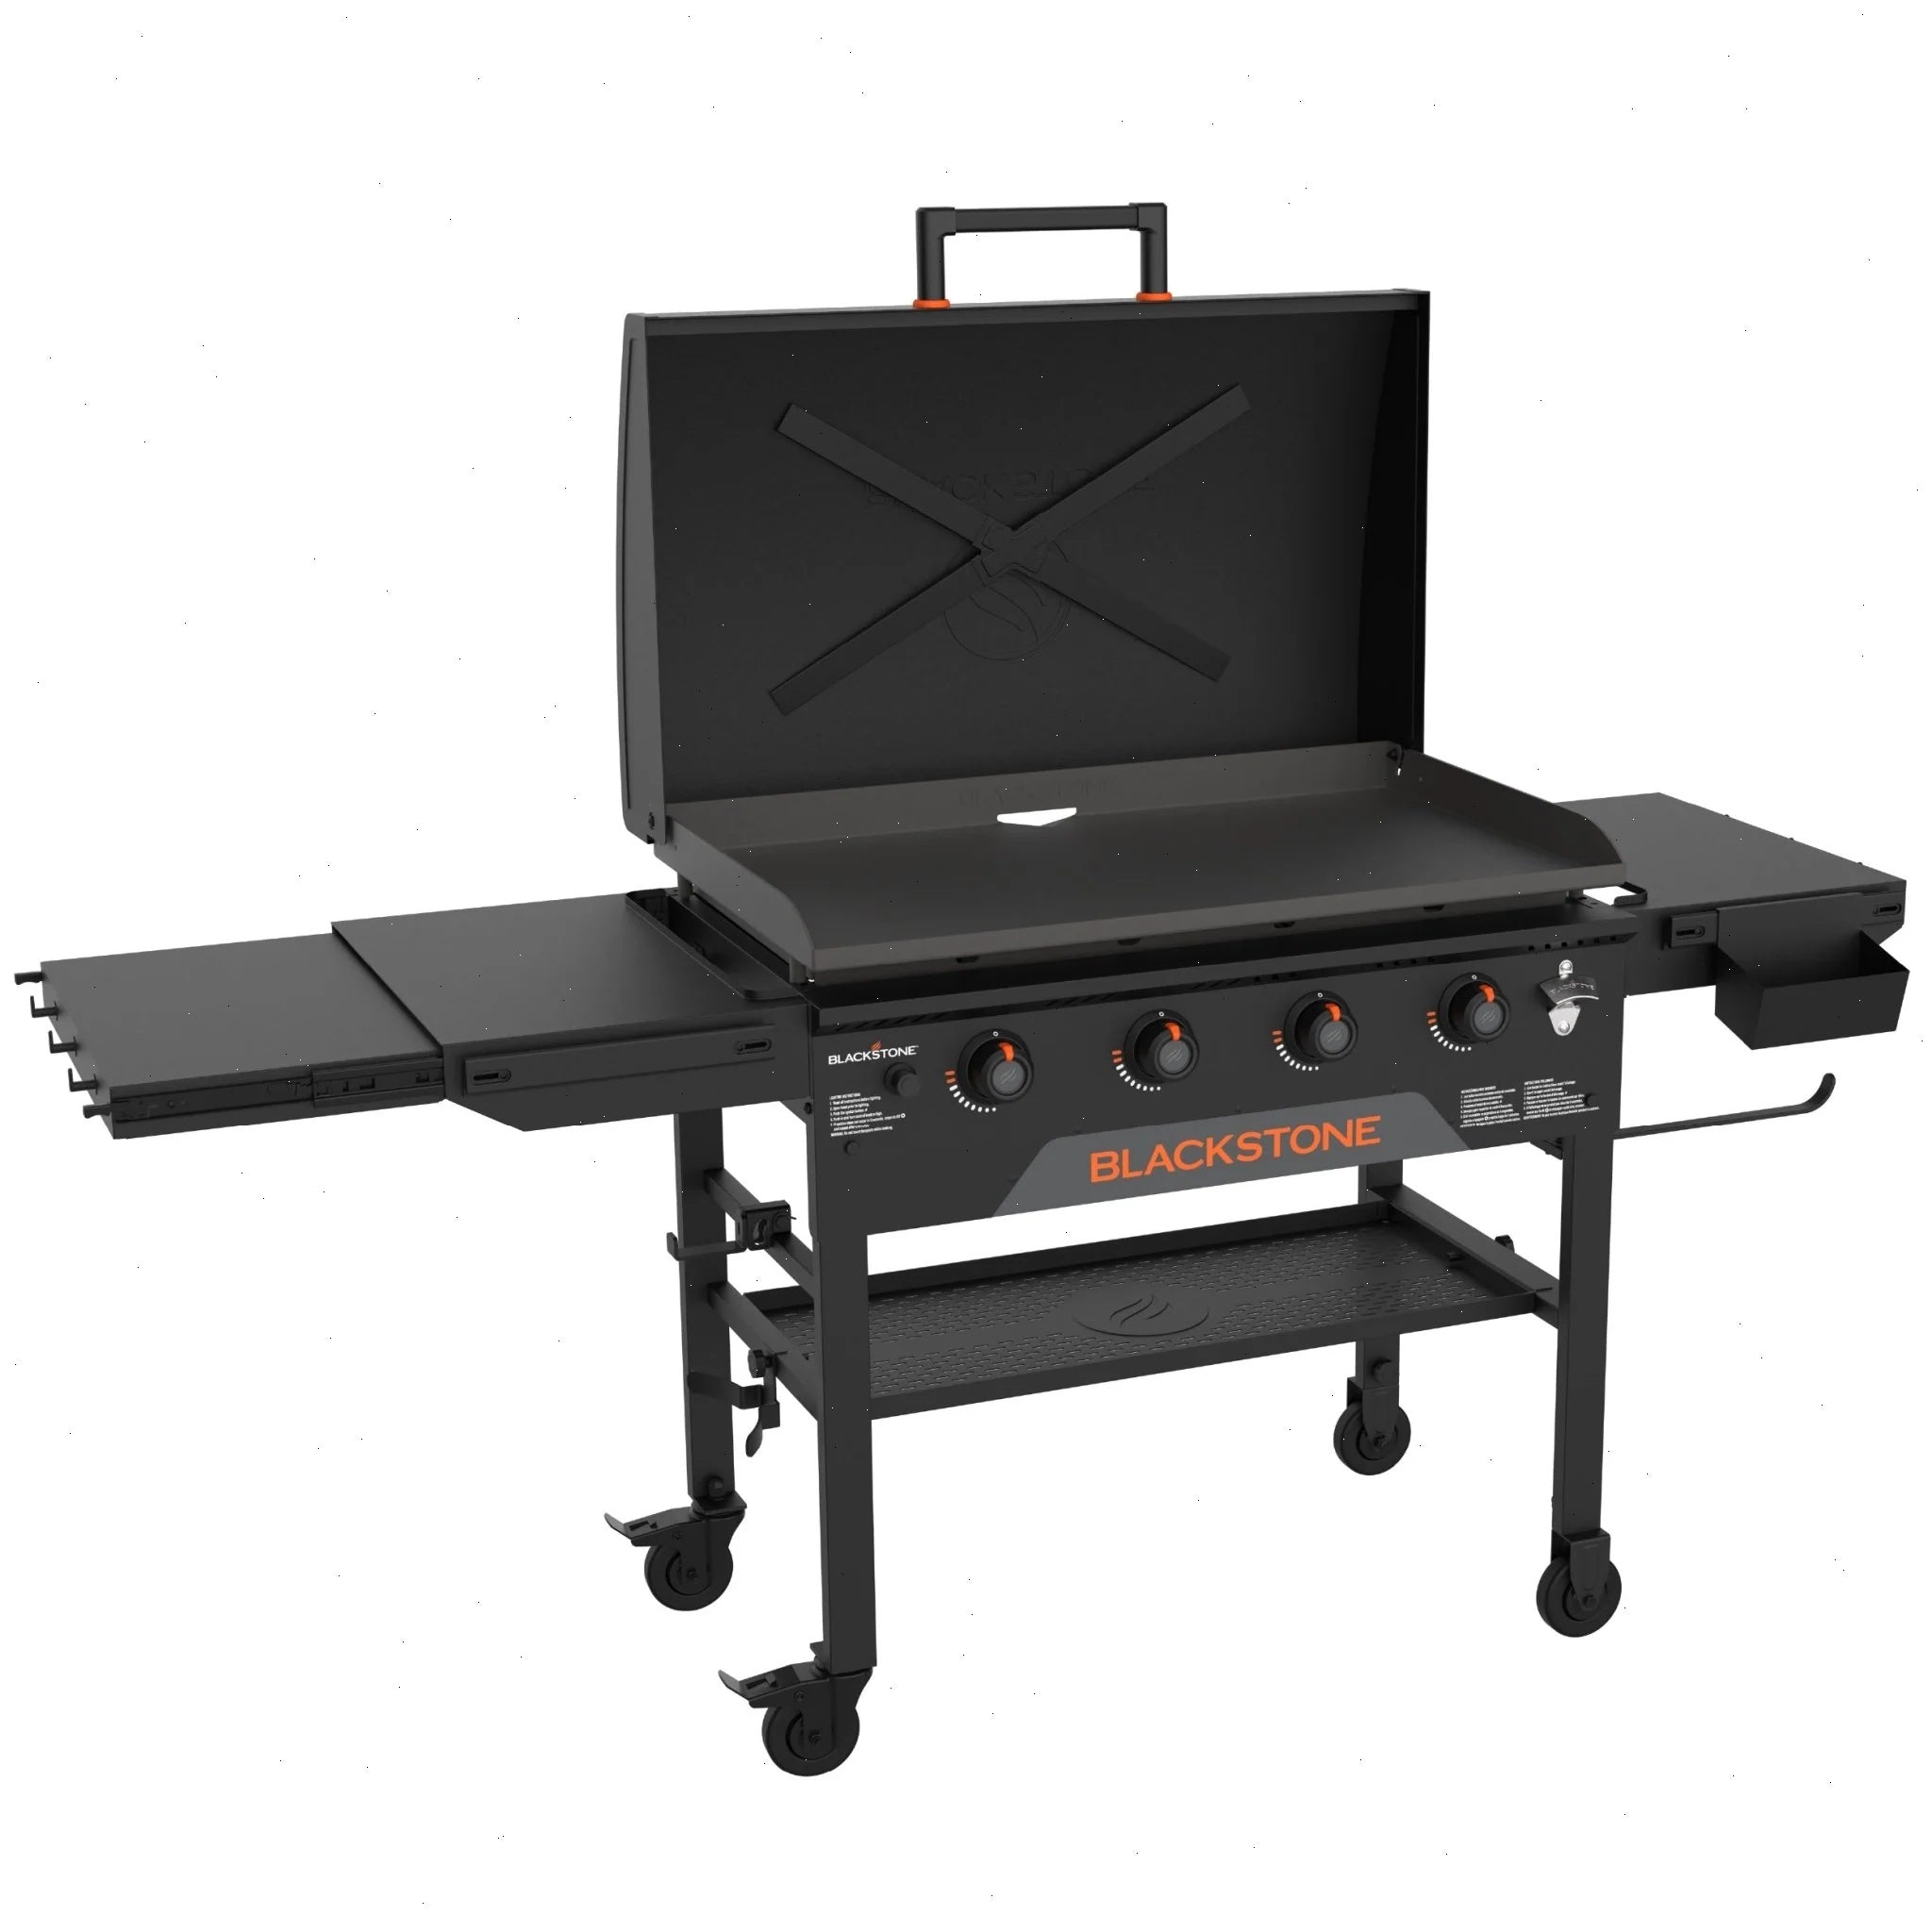
Mastering temperature control is the single most important skill for outdoor cooking on a flat top. Whether you're searing steaks, sautéing vegetables, or flipping pancakes, knowing your cooking surface temperature separates a good meal from a great one. An infrared thermometer—often called an IR gun—is the ultimate tool for precision. In this guide, you'll learn how to use one to achieve perfect searing, maintain consistent heat, and cook like a pro on your 36" Griddle Deluxe.
Why Temperature Control Matters on a Griddle
A griddle's flat cooking surface is both its greatest strength and its biggest challenge. Unlike a grill with grates, the entire surface radiates heat. If it's too cold, food sticks and steams. If it's too hot, you burn the outside before the inside cooks. The ideal searing temperature for steaks, burgers, and chops is between 375°F and 400°F (190°C–205°C). At that range, the Maillard reaction—the chemical process that creates a deep brown crust—occurs rapidly without charring.
Many beginners rely on the griddle's built-in thermostat or burner knobs, but those measure the temperature of the metal near the burner, not the actual cooking surface. Hot spots and cold zones are real. An infrared thermometer gives you a true reading of the cooking surface temperature, letting you adjust burners and manage heat zones precisely.
What Is an Infrared Thermometer and How Does It Work?
An infrared thermometer uses a lens to focus infrared light emitted by a surface onto a detector. The detector converts that energy into a temperature reading. It's non-contact, fast (reads in under a second), and accurate within ±1–2°F when used correctly. For griddle cooking, this means you can scan multiple points on the surface without disturbing the food or adding thermal mass.
Key features to look for in an IR thermometer for griddle use:
- Laser guide to aim precisely at the spot you want to measure.
- Distance-to-spot ratio (D:S) of at least 8:1 or 12:1 (the ratio of distance to area measured).
- Temperature range from at least -20°F to 500°F.
- Backlit display for outdoor use in bright or dim light.
- Adjustable emissivity (most griddles have a matte finish; standard emissivity of 0.95 works well).
Step-by-Step: How to Check Griddle Temperature with an IR Thermometer
1. Preheat Your Griddle Properly
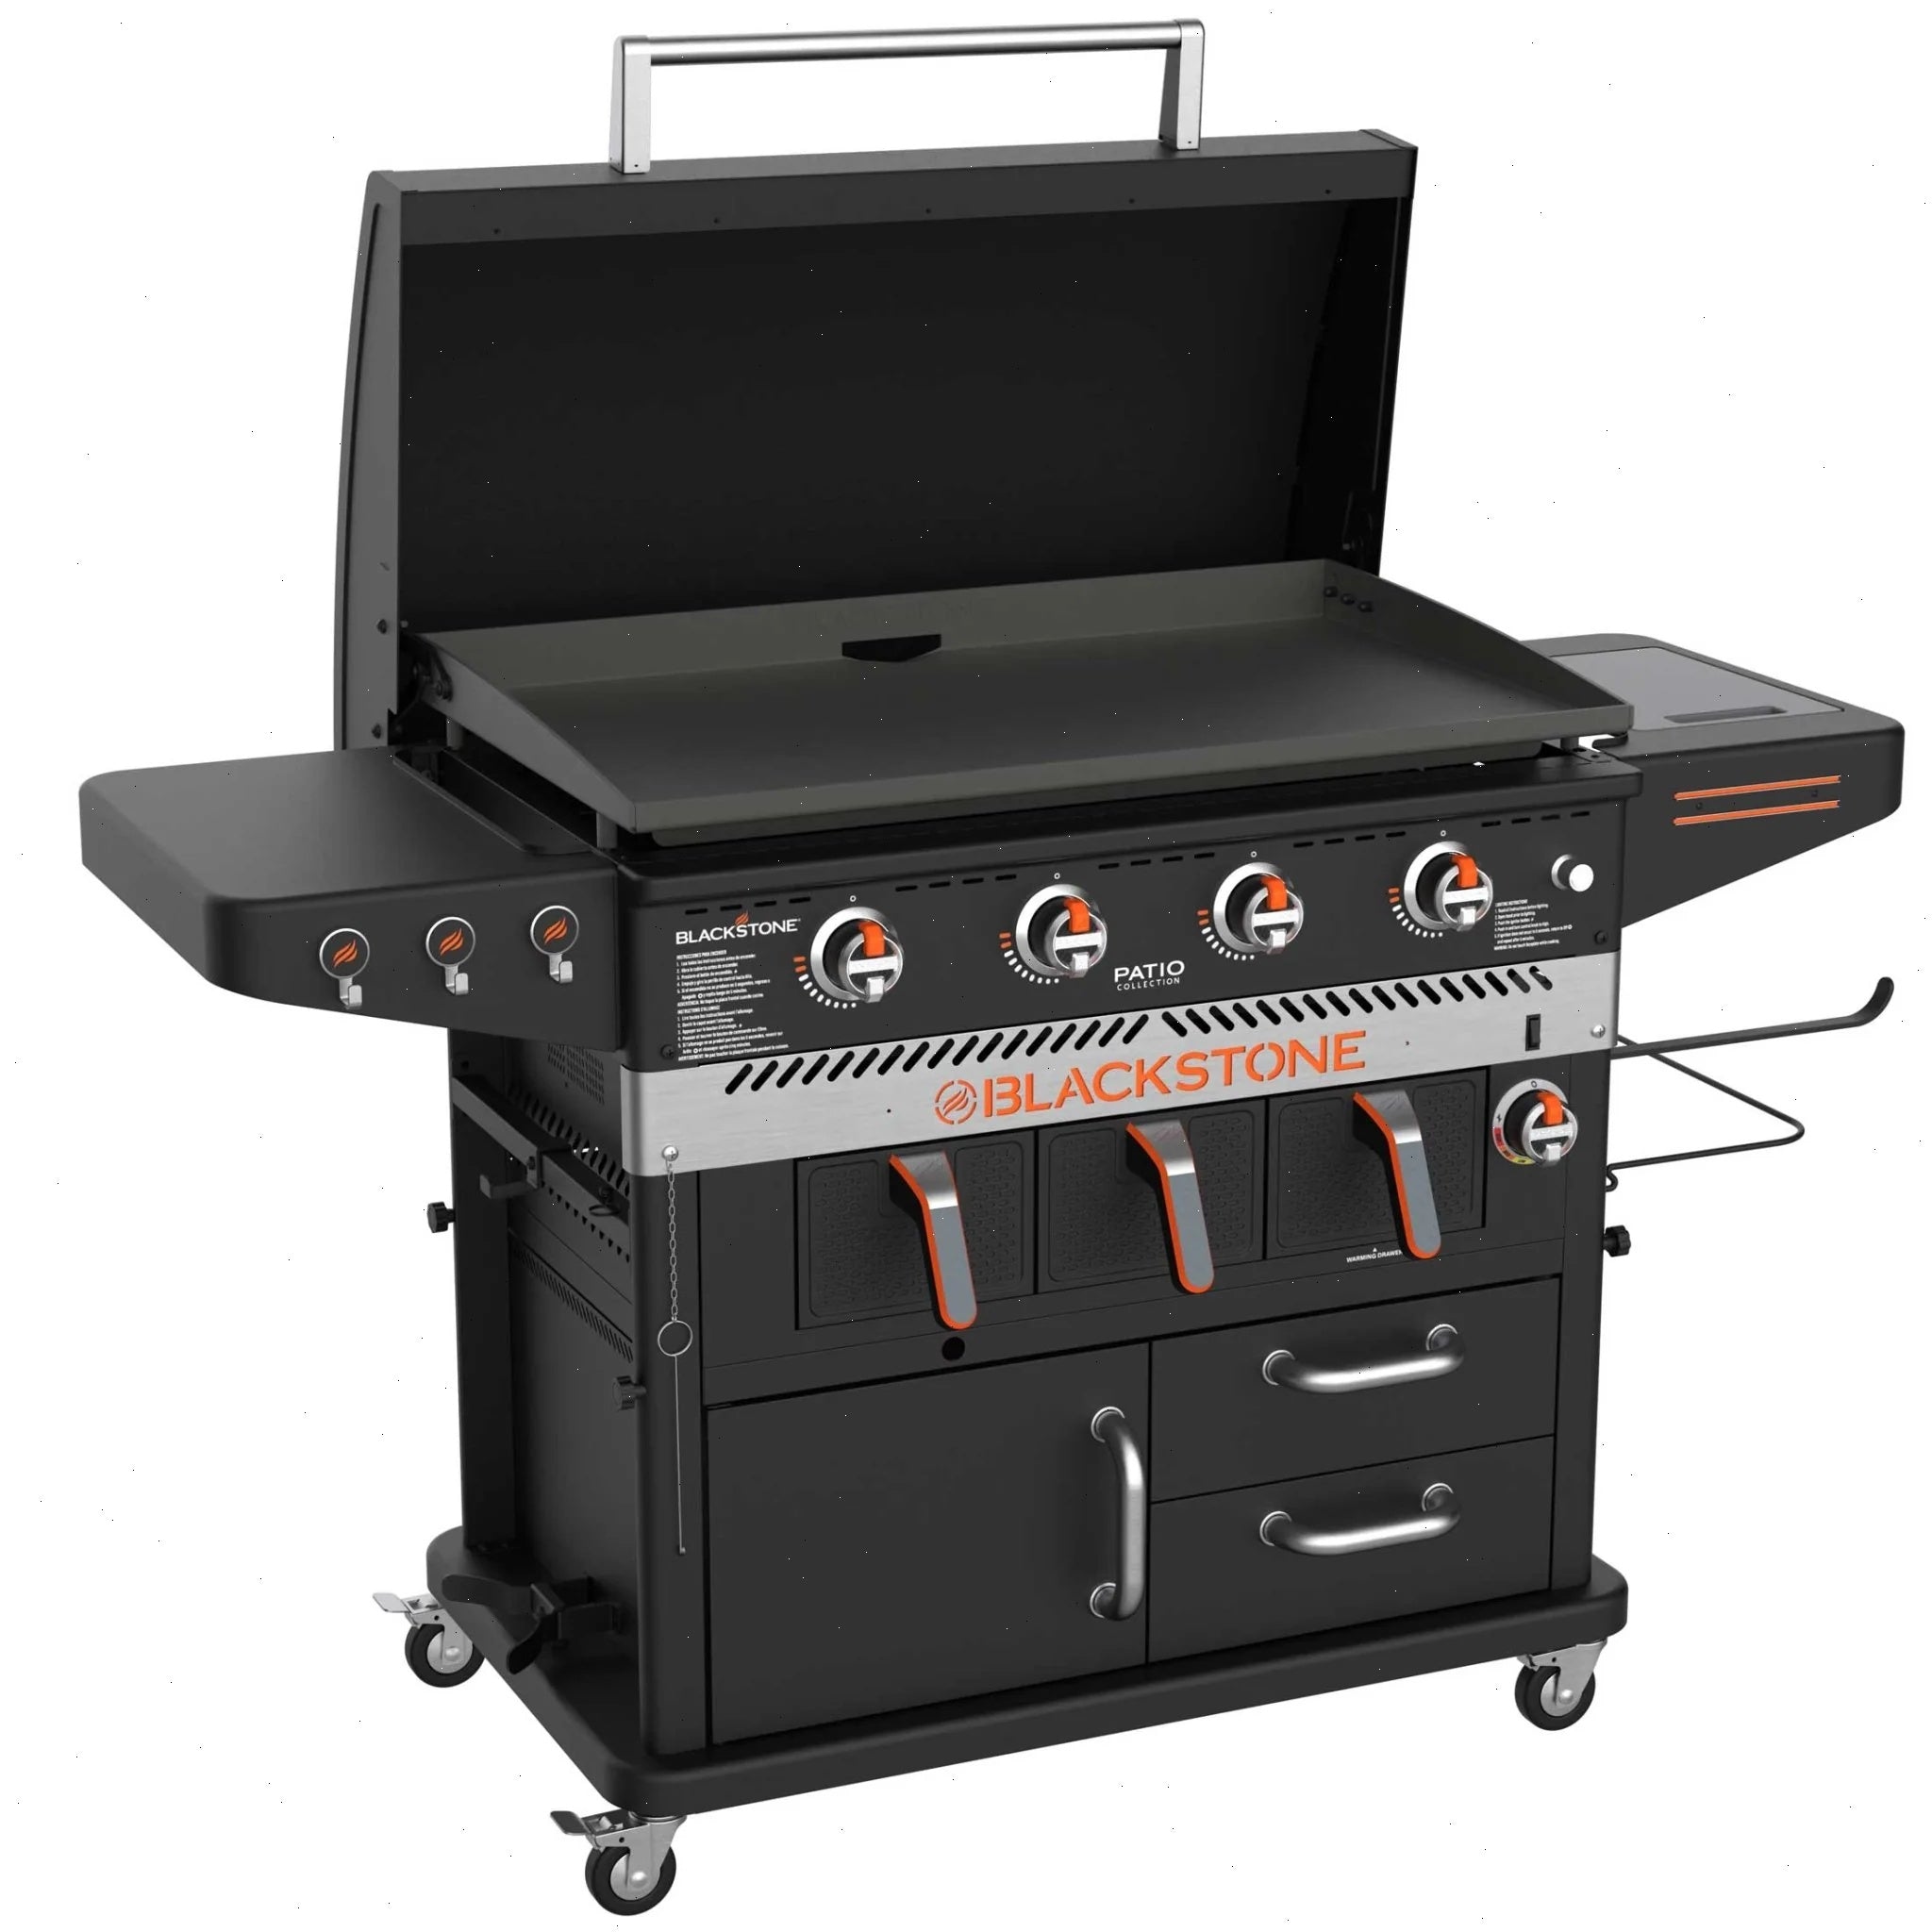
Turn your griddle to medium-high heat for 10–15 minutes. A preheated griddle distributes heat more evenly than one that's rushed. On a 28" Griddle with Hood, the hood helps retain heat, so preheat slightly shorter—about 8–10 minutes.
2. Take Readings at Multiple Spots
Aim the IR thermometer at different areas: center, left, right, front, back. Write down the readings. You may see variations of 25–50°F between the center (hottest) and edges (coolest). This is normal. Mark these zones mentally or with a piece of heat-resistant tape.
3. Adjust Burners to Create Heat Zones
Use the readings to set up heat zones. For example, if the center reads 400°F and the edges read 325°F, you can sear steaks in the center and cook delicate fish or vegetables on the cooler edges. This technique is called “zone cooking.”
4. Verify Temperature After Adding Food
When you add cold food, the surface temperature drops. After placing steaks, wait 30 seconds, then aim the IR thermometer at the exposed griddle surface near the food. If it drops below 350°F, increase burner output briefly. Once the food starts sizzling, the surface temperature will recover. Keep checking every minute or so to maintain the searing window.
Ideal Searing Temperatures for Different Foods
Here's a quick reference table for target surface temperatures using your IR thermometer:
| Food | Target Surface Temp (°F) | Cooking Notes |
|---|---|---|
| Steaks (beef, lamb) | 375–400 | Sear 2–3 min per side, then move to cooler zone to finish |
| Burgers | 375–400 | Press lightly for crust; don't smash too early |
| Chicken breasts | 350–375 | Sear first, then lower heat to cook through |
| Fish fillets | 325–350 | Lower temp prevents sticking; use spatula to flip gently |
| Vegetables (zucchini, peppers) | 350–375 | High heat for char; toss frequently |
| Pancakes, eggs | 325–350 | Medium heat ensures even cooking without burning |
| Fried rice, hibachi | 375–400 | Super hot for wok-style char |
Common Mistakes and How to Avoid Them
Mistake 1: Taking Readings Too Close or Too Far
The IR thermometer's spot size increases with distance. At 12 inches, a 12:1 D:S thermometer measures a 1-inch circle. If you're 6 inches away, you're measuring a 0.5-inch circle. Follow the manual's recommended distance—usually 6–12 inches—for accurate readings.
Mistake 2: Measuring Shiny or Reflective Surfaces
New, polished griddles may reflect infrared energy, giving false low readings. If your griddle is shiny, use a small piece of matte black heat-resistant tape on the surface and measure that. After seasoning, the patina naturally becomes matte, which is more accurate.
Mistake 3: Relying Only on the Griddle's Built-In Thermometer
Built-in thermometers are placed near the burner, not on the cooking surface. They can read 50°F lower than the actual surface when the hood is open. Always cross-check with an IR thermometer for real data.
When to Re-Check Temperature During a Cook
Temperature changes over time. As you cook multiple batches, the griddle surface cools and recovers. Check every 5–10 minutes, especially after cleaning the surface between batches. Also check after adding a large quantity of cold food (e.g., a whole pack of chicken thighs). The thermal mass can drop surface temp by 40–60°F. Wait 30 seconds, then adjust burners upward.
Temperature Control for Accessories and Add-Ons
If you use Basting Domes (2 PC) to melt cheese or steam vegetables, the dome traps heat and moisture. With the dome on, the surface temperature under it can rise 20–30°F. Check the surface temperature inside the dome quickly with your IR thermometer (lift the dome slightly to avoid steam).
Similarly, when using Square Squeeze Bottles for oil or sauces, preheat the griddle to the correct temp before adding oil. The oil should shimmer immediately upon contact. If it smokes heavily, the surface is too hot.
Pro Tips for Consistent Results
- Calibrate your IR thermometer periodically using an ice bath (32°F) or boiling water (212°F at sea level).
- Keep a log of your burner settings and corresponding surface temperatures. Over time, you'll learn which knob positions give your desired heat.
- Use a wind screen to prevent gusts from cooling the surface unevenly. A 36" Wind Screen is a game-changer for outdoor cooking.
- Clean the griddle surface between batches to remove burnt bits that can act as insulation and skew temperature readings.
- Let the griddle rest after preheating for 2–3 minutes after the burners are set. This allows the metal to stabilize thermally.
Conclusion: Elevate Your Griddle Game with Precision
An infrared thermometer costs less than a good steak, but it will transform your cooking. You'll stop guessing and start knowing exactly when your griddle is ready for a perfect sear, a gentle sauté, or a golden pancake. Combine this knowledge with proper burner management and high-quality gear, and you'll consistently produce restaurant-grade meals on your flat top.
If you haven't already, invest in a reliable IR thermometer and practice the steps above. Your taste buds will thank you. For the ultimate combination of surface and heat control, explore the 36" Griddle Deluxe—it offers even heating, ample cooking space, and the precision you need to master temperature control.