How to Use a Griddle Press for Perfectly Even Cooking: Tips for Burgers, Sandwiches, and More
By blackstoneproductsshop | Published: 2026-06-20
Category: How-to Guides
Master the art of using a griddle press for evenly cooked burgers, toasted sandwiches, and seared meats. Get expert tips for your Blackstone flat top.
If you've ever watched a backyard chef press a sizzling burger on a flat top and wondered how they achieve that perfectly flat, evenly cooked patty with a dark, caramelized crust, the secret is almost always a griddle press. This simple but powerful tool—often called a burger press or bacon press—uses weight and heat to maximize surface contact, ensuring every bite is cooked consistently. Whether you're smashing smashburgers, toasting Cuban sandwiches, or searing chicken breasts, adding a griddle press to your Blackstone cooking routine transforms your results from good to exceptional.
What Is a Griddle Press and Why Does It Matter?
A griddle press is a heavy, flat metal weight—usually made of stainless steel or cast iron—that you place directly on top of food while it cooks. Its primary job is to apply even pressure, which does two critical things: first, it flattens the food for more surface area contact with the griddle, and second, it forces heat deeper into the food for faster, more uniform cooking. On a Blackstone griddle, where you can cook everything from eggs to steak on one seamless surface, a press helps eliminate hot spots and uneven browning.
Many home cooks struggle with burgers that dome up in the center or sandwiches that toast unevenly. A griddle press solves these issues by physically holding the food down, promoting direct contact with the hot metal. It's also invaluable for cooking bacon—the weight keeps the strips flat so the fat renders evenly, preventing curling and ensuring every piece turns out crisp and delicious.
Choosing the Right Griddle Press for Your Blackstone
Not all presses are created equal. When shopping for a griddle press, consider weight, handle design, and compatibility with your griddle size. A heavy press (around 1.5 to 3 pounds) works best because it provides enough downward force without requiring you to push down manually. Stainless steel is durable and non-reactive, while cast iron retains heat exceptionally well—great for searing.
Key Features to Look For
- Weight: Heavier presses (2-3 lbs) are ideal for burgers and bacon. Lighter ones work for delicate items like pancakes.
- Handle: Look for a cool-touch or wooden handle that stays safe to grip even when the press is hot.
- Size: A press around 5x6 inches works for most home griddles. Larger presses can cover multiple items at once.
- Non-stick coating: Some models come with a non-stick surface for easier cleanup.
Pairing your press with the right accessories makes a big difference. For example, the 4 Piece Professional Breakfast Kit includes tools that complement pressing techniques—like spatulas and scrapers—so you can manage your cooking flow seamlessly. Similarly, using 32 oz Squeeze Bottles (4 Bottles) for oil or water helps you control moisture and prevent sticking during pressing.
How to Use a Griddle Press for Burgers (The Right Way)
Smashburgers are the most iconic use for a griddle press. The technique is simple but requires timing. Start by forming 2–3 ounce balls of ground beef—don't flatten them yet. Preheat your Blackstone griddle to medium-high heat (around 375°F). Place a ball on the hot surface, immediately cover it with a piece of parchment paper, and press down firmly with your griddle press for 10–15 seconds. The parchment prevents sticking and makes cleanup easy.
After pressing, remove the press and parchment. You'll see a thin, wide patty with ragged edges—that's the hallmark of a perfect smashburger. Let it cook for about 1–2 minutes until the edges are dark brown and crispy, then flip. The crust that forms from the direct contact is what gives smashburgers their signature flavor. For double smashburgers, repeat the process with a second patty and stack them with cheese between.
Pro Tips for Smashburgers
- Use 80/20 ground beef for the best fat-to-meat ratio—more fat means better browning.
- Don't season the meat before pressing; add salt and pepper immediately after pressing to avoid drawing out moisture.
- If you don't have parchment, lightly oil the press and the griddle surface to prevent sticking.
- Work in batches—overcrowding the griddle lowers the temperature and prevents proper searing.
Pressing Sandwiches and Panini to Perfection
A griddle press isn't just for burgers—it's a game-changer for grilled sandwiches, panini, and even quesadillas. When you place a press on top of a sandwich, it compresses the layers, allowing the bread to toast evenly while the fillings heat through. This is especially useful for thick sandwiches like Cubans or Reubens, where you want a flat, compact shape with crispy bread on both sides.
To press a sandwich, assemble it on the griddle, then place the press directly on top. Let it cook for 2–3 minutes per side. If you're cooking multiple sandwiches, a large press can cover two at once. The weight also helps squeeze out excess moisture from ingredients like tomatoes or pickles, preventing soggy bread. For a twist, try pressing a breakfast sandwich—eggs, cheese, and sausage on a roll—for a perfectly compact, toasty handheld meal.
Beyond Burgers: Bacon, Chicken, and Vegetables
Bacon is notoriously tricky on a griddle because it curls and shrinks unevenly. A griddle press solves this by holding the strips flat against the surface, ensuring the fat renders uniformly. Lay a few slices on the griddle, place the press over them, and cook until the edges start to crisp. Remove the press, flip the bacon, and press again for even browning. The result is flat, crispy bacon without any burnt spots.
For chicken breasts or pork chops, a press helps flatten thicker cuts so they cook faster and more evenly. This is similar to using a meat mallet but done right on the griddle. Season the meat, place it on the hot surface, and press for 30–60 seconds per side. The pressure creates a beautiful sear while the heat penetrates quickly—ideal for weeknight dinners. Vegetables like zucchini, eggplant, or portobello mushrooms also benefit from pressing: it releases moisture and creates grill marks that look professional.
Griddle Press Techniques for Even Cooking
Even cooking is about more than just weight—it's about how you use the tool. Here are advanced techniques to master:
Rotational Pressing
Instead of pressing straight down and leaving the press in one spot, gently rotate it in a small circle for the first 5 seconds. This distributes the heat more evenly and prevents sticking, especially with lean meats.
Variable Pressure
Not all foods need full force. For delicate items like fish fillets or thinly sliced vegetables, use lighter pressure or place the press without pushing down hard. The weight alone is often enough to ensure contact.
Preheating the Press
For maximum searing, place the press on the griddle for 30–60 seconds before using it. A hot press transfers heat to the top of the food, cooking both sides simultaneously—great for thick cuts of meat or frozen patties.
Stacking for Efficiency
If you're cooking for a crowd, you can stack multiple presses or use a large press to cover several items at once. This speeds up cooking time and ensures consistency across batches.
Cleaning and Maintaining Your Griddle Press
Proper care extends the life of your press and keeps it performing well. After each use, let the press cool slightly, then wipe it clean with a paper towel or cloth. For stuck-on residue, use a scraper or a gentle scrub with warm soapy water—avoid abrasive sponges that can damage the surface. If you're using a cast iron press, dry it immediately and apply a thin layer of oil to prevent rust. Store the press in a dry place, ideally wrapped in a cloth to avoid scratching other tools.
Common Mistakes to Avoid
Even experienced cooks can fall into traps. Here are the most common errors when using a griddle press:
- Pressing too hard on delicate foods: This can break apart fish, vegetables, or thin patties. Use gentle weight instead.
- Leaving the press on too long: For burgers, 10–15 seconds is enough. Over-pressing squeezes out juices, leading to dry meat.
- Using a cold press: A press that's not preheated can cool the food, slowing down cooking and reducing sear quality.
- Skipping parchment or oil: Without a barrier, food can stick to the press, tearing the crust when you lift it.
- Ignoring the handle: If the handle isn't heat-resistant, use a silicone glove or towel—metal handles get extremely hot.
Expanding Your Griddle Press Repertoire
Once you've mastered the basics, experiment with other uses. Try pressing tortillas for homemade chips, flattening dough for personal pizzas, or searing tofu for a crispy exterior. Some cooks even use a press to hold down bacon-wrapped items like jalapeño poppers, ensuring the bacon cooks evenly without unrolling. The possibilities are limited only by your imagination.
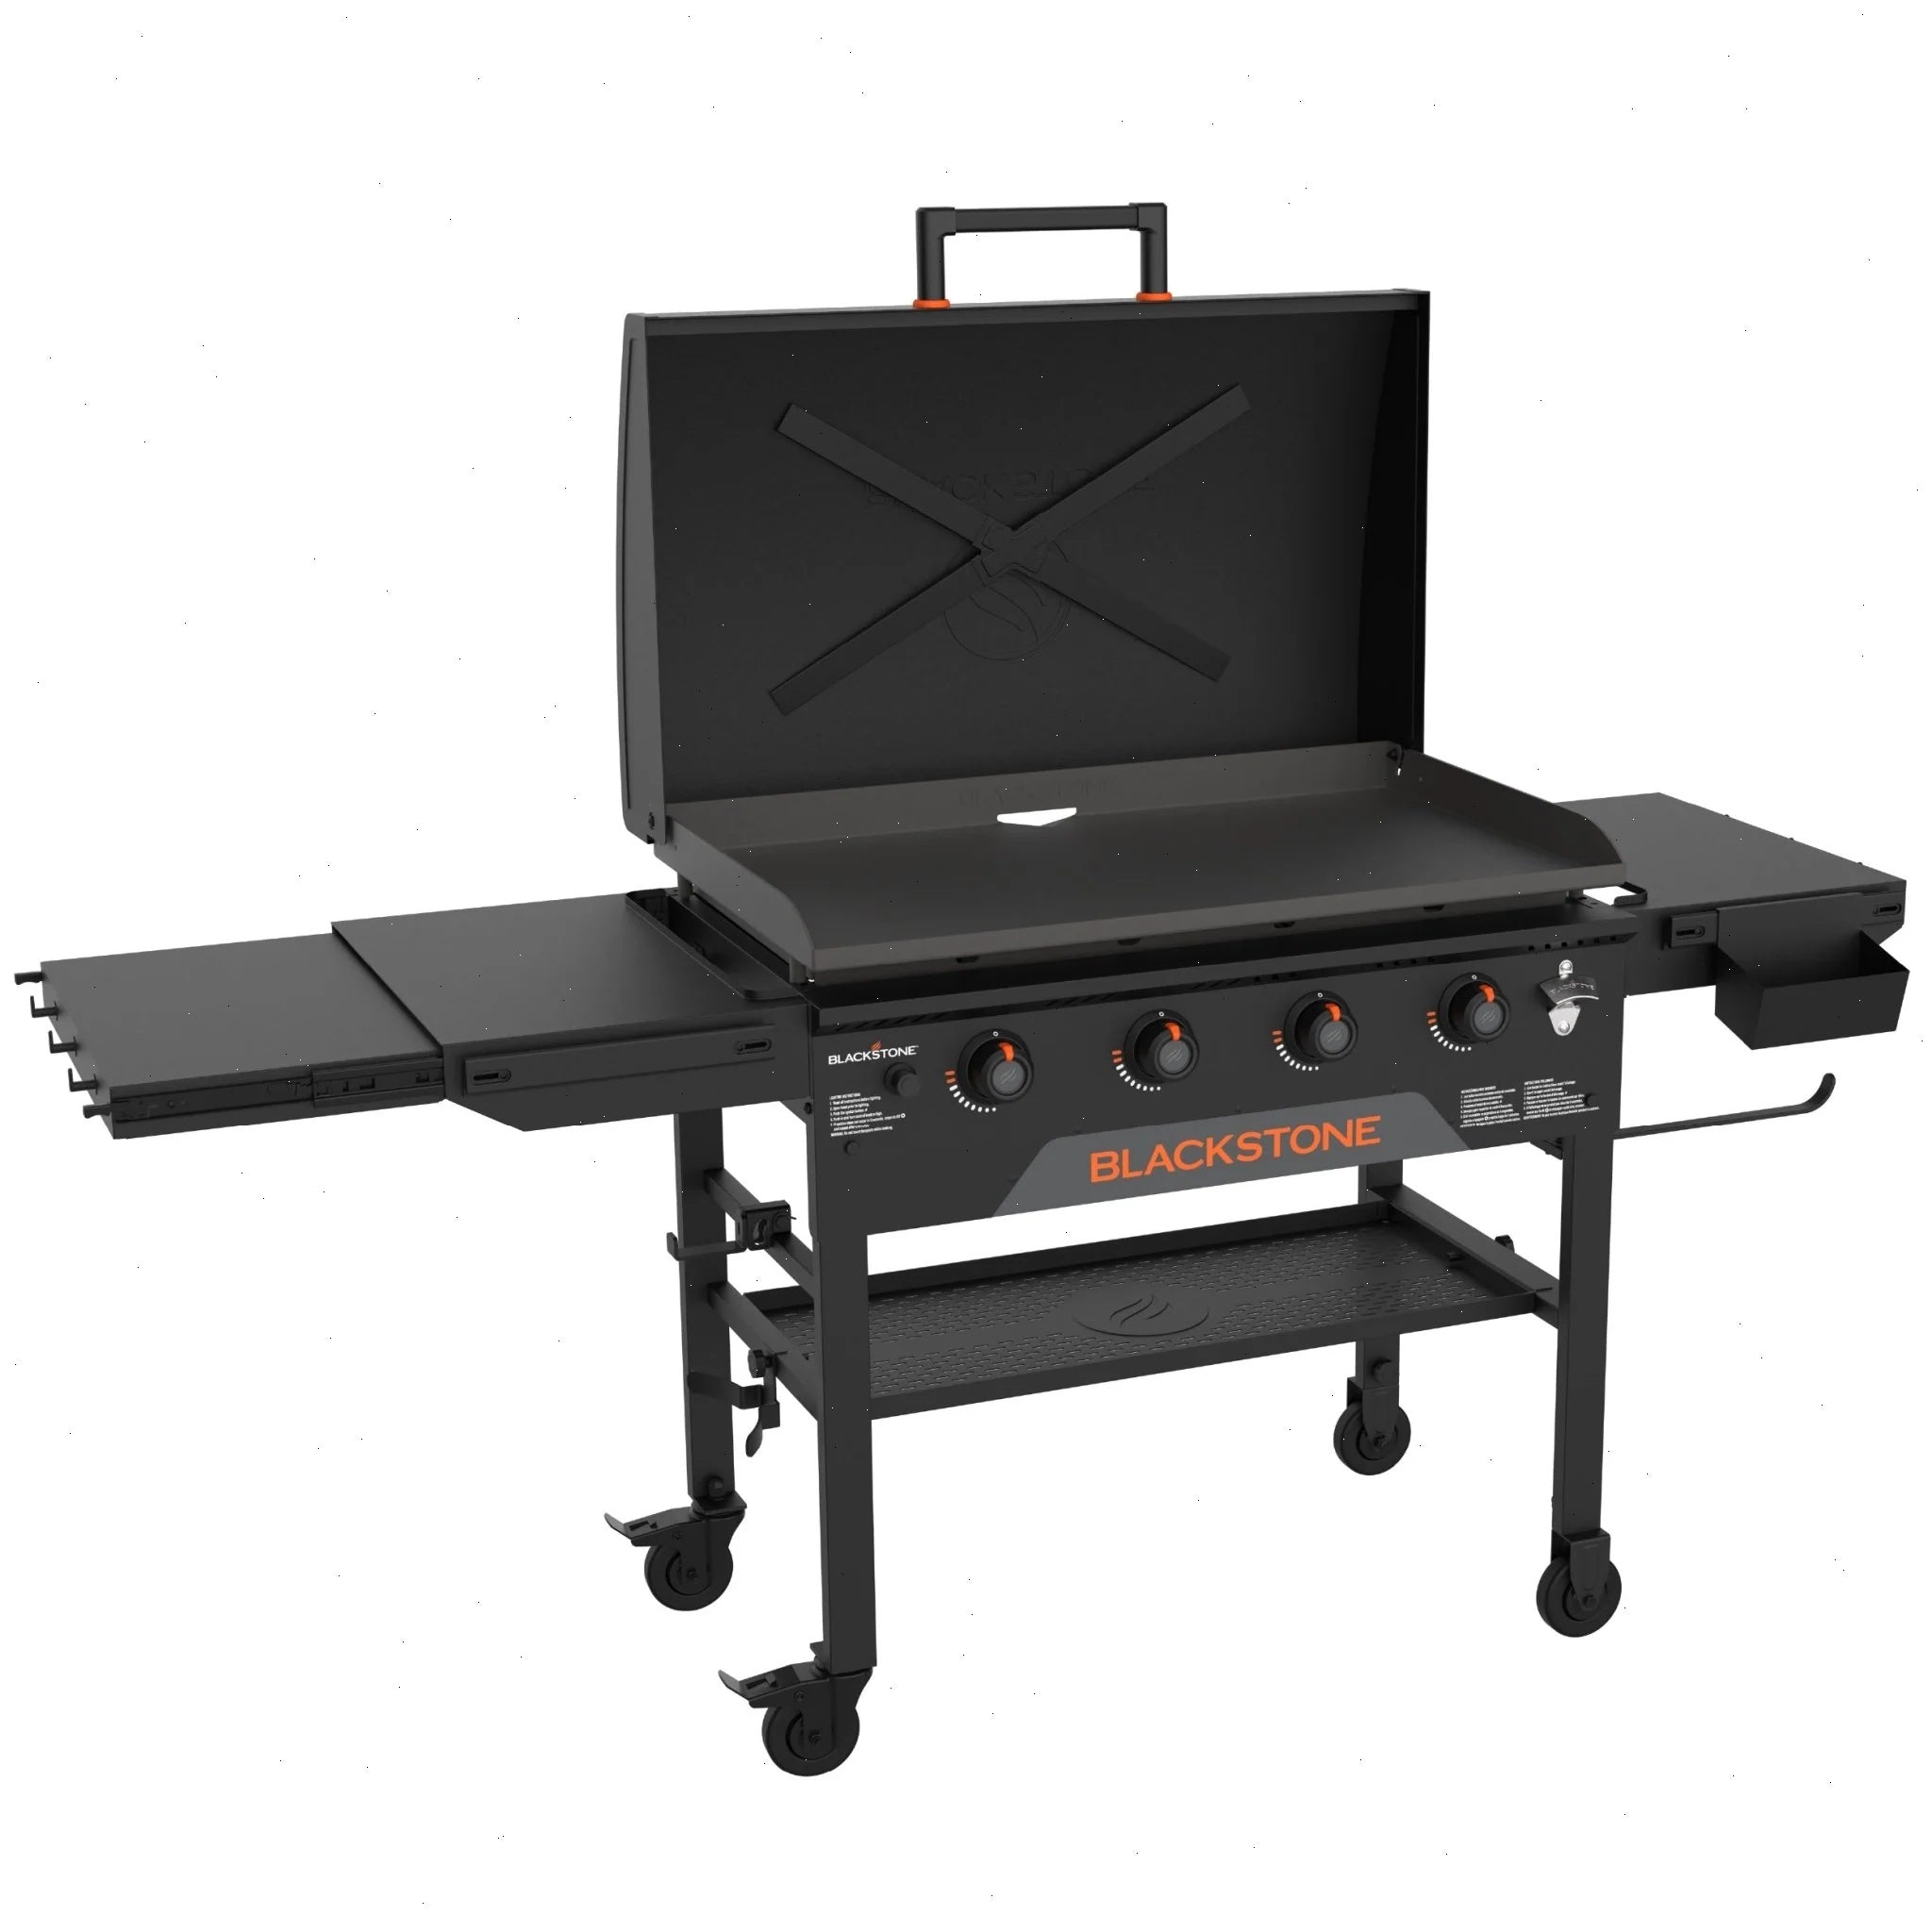
If you're looking to upgrade your setup, consider how accessories work together. A quality press, combined with a spacious cooking surface like the Patio 36in Cart Griddle W/Hood-Black, gives you plenty of room to press multiple items while the hood traps heat for faster cooking. And for keeping your press and other gear organized, a dedicated carry bag or cover protects your investment.
Final Tips for Griddle Press Success
Consistency is key. Measure your meat portions to ensure even patties, preheat your griddle fully before pressing, and don't rush the process. A griddle press is a tool that rewards patience—take the time to let the crust develop, and you'll be rewarded with restaurant-quality results at home. Remember to clean your press immediately after use, and store it safely to prevent damage.
If you don't yet have a griddle press, consider adding one to your cooking arsenal. Pair it with a reliable spatula, a scraper, and your favorite seasonings to unlock a new level of flat-top cooking. And for those who love cooking outdoors, a collapsible or lightweight press can even come along on camping trips—just make sure it's compatible with your portable griddle.
Ready to take your griddle cooking to the next level? Explore the 4 Piece Professional Breakfast Kit today—it includes essential tools that work perfectly with your griddle press to help you create flawless breakfast, lunch, and dinner spreads every time.