Griddle Cooking with Natural Gas: Pros, Cons, and Conversion Guide
By blackstoneproductsshop | Published: 2026-06-04
Category: How-to Guides
Learn the pros and cons of switching your Blackstone griddle to natural gas, plus a step-by-step conversion guide for cost savings and convenience.
If you’re an avid outdoor cook, you’ve likely considered the fuel source that powers your griddle. While propane has long been the standard for portable and backyard griddles, natural gas is gaining popularity among home chefs who want a permanent, cost-effective, and hassle-free setup. Converting your Blackstone griddle to natural gas can offer a steady fuel supply without the need to swap tanks, but it’s not without its trade-offs. In this guide, we’ll break down the pros and cons of griddle cooking with natural gas, explain the conversion process, and help you decide if it’s the right move for your outdoor kitchen. Plus, we’ll highlight essential tools and accessories to make the transition smooth and your cooking experience even better.
What Is a Natural Gas Griddle?
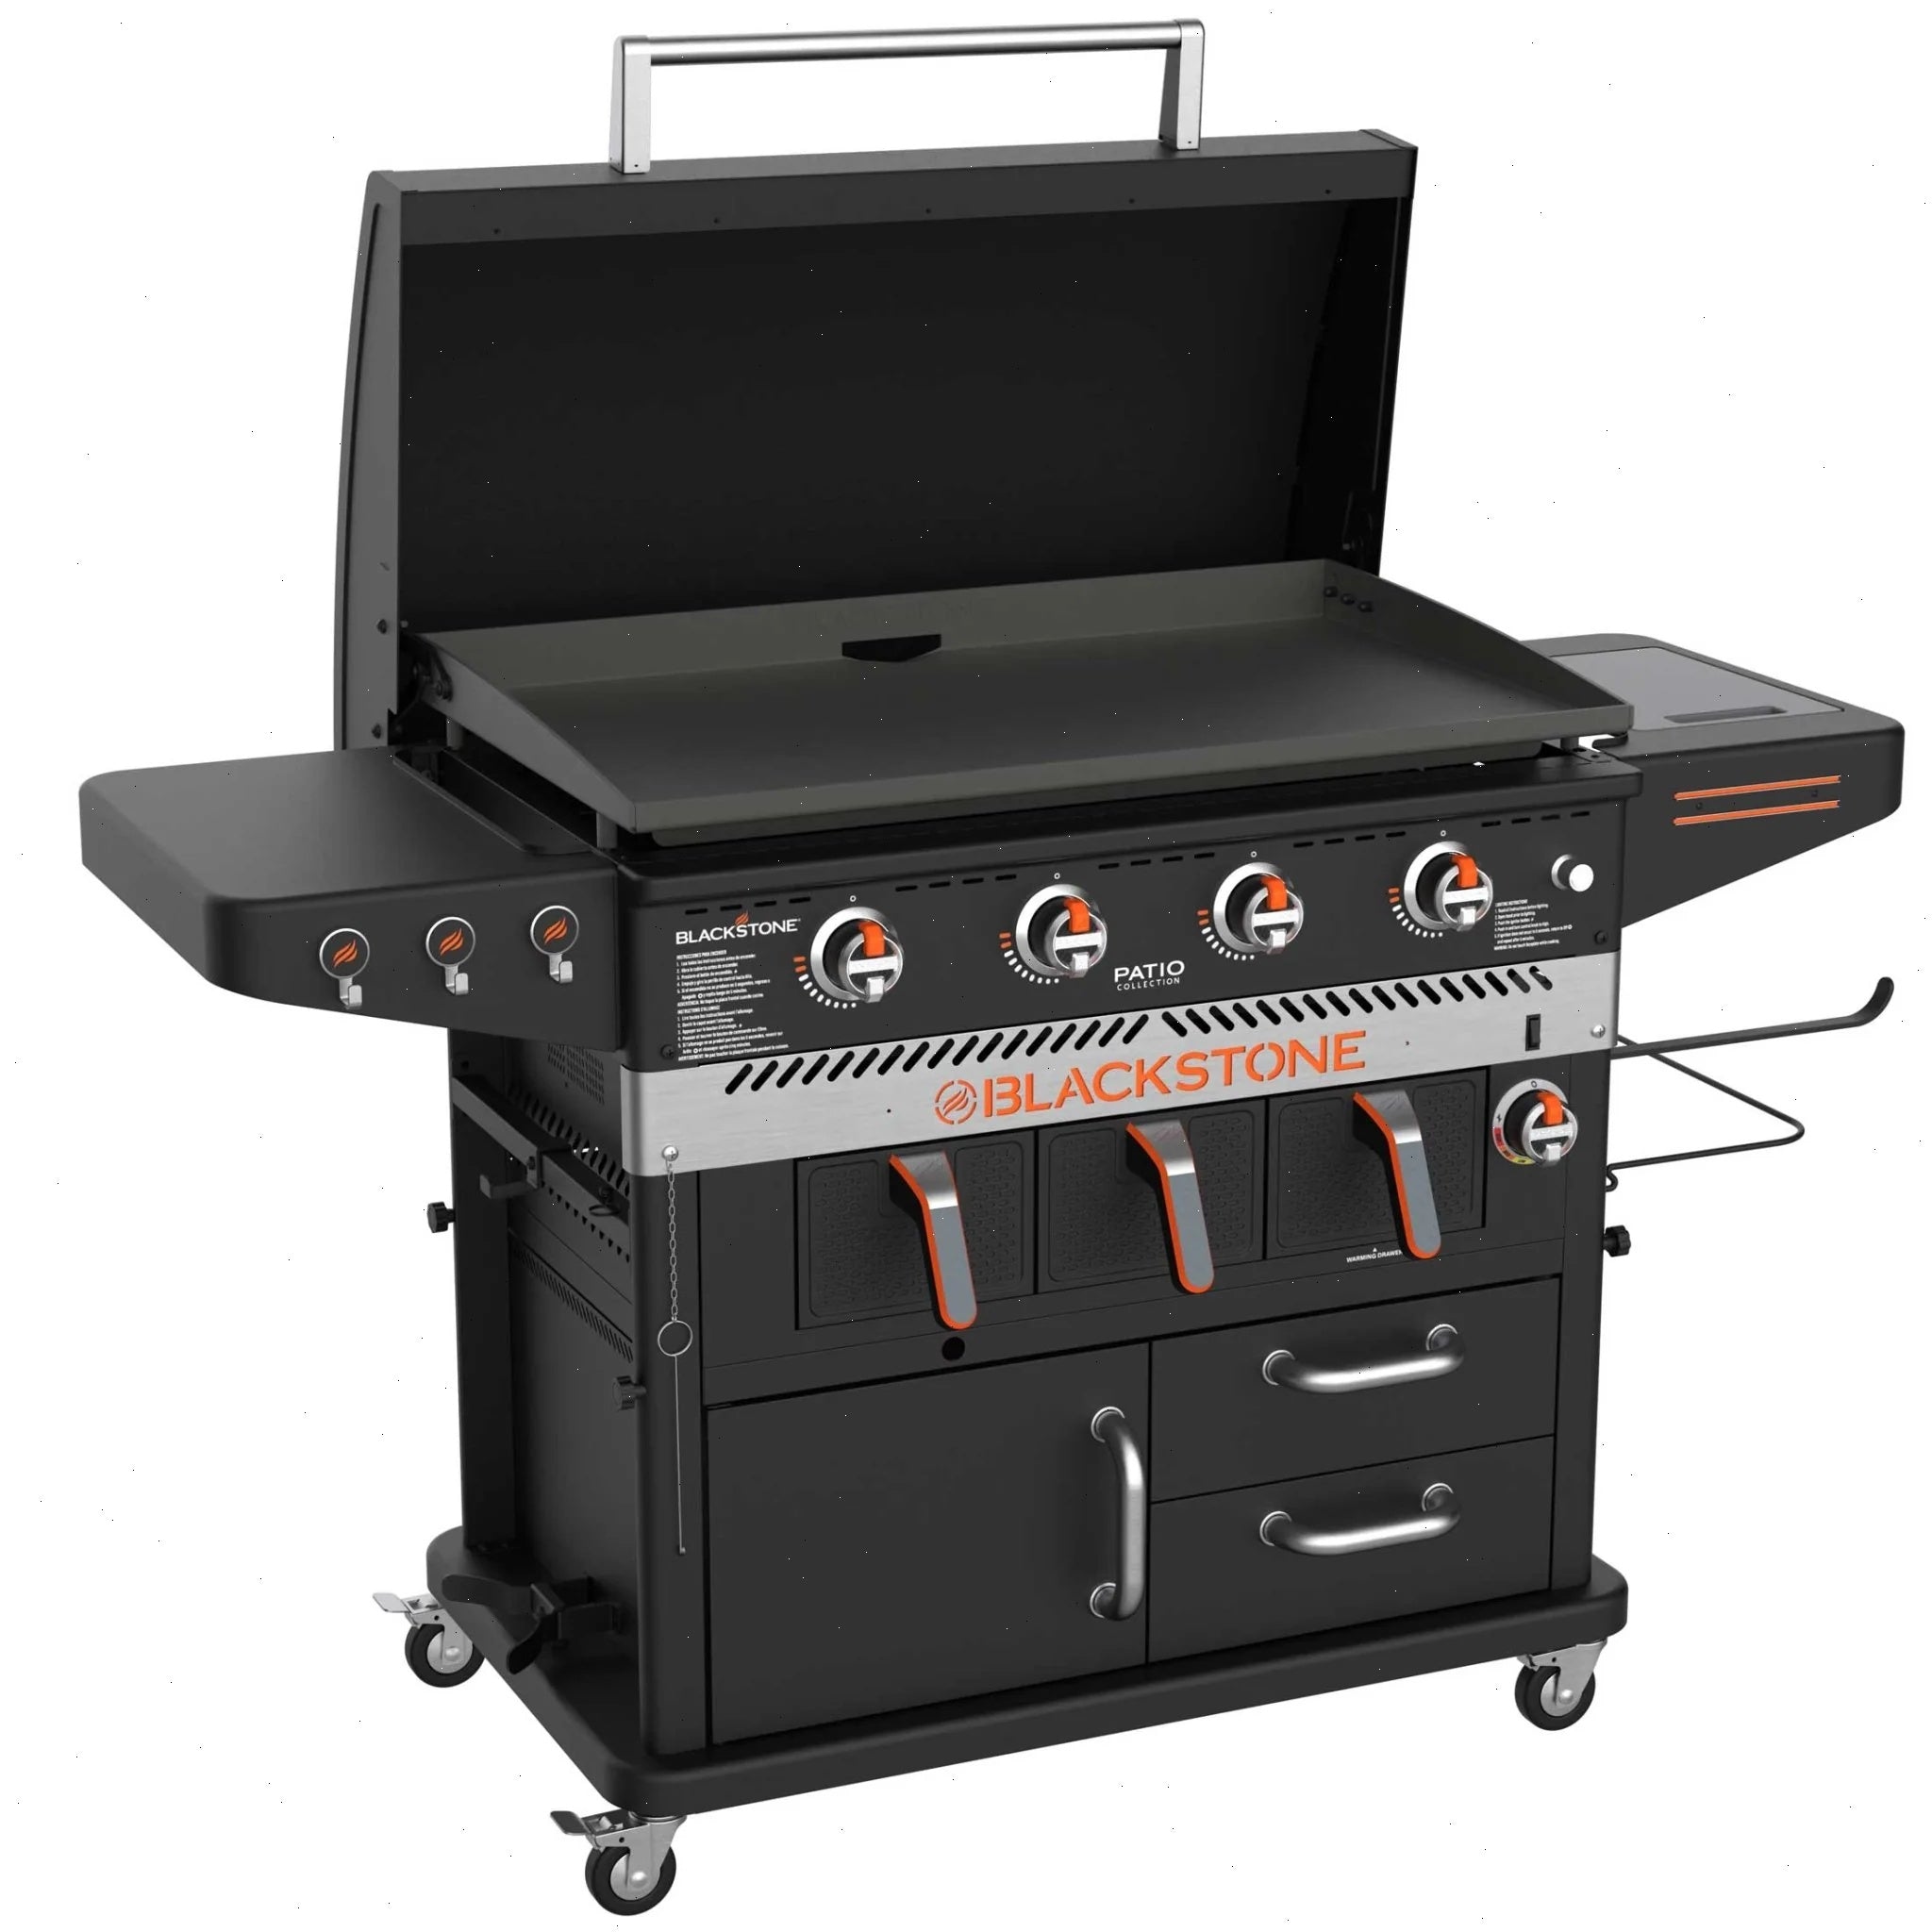
A natural gas griddle is simply a flat-top cooking surface that runs on natural gas from your home’s supply line instead of propane from a refillable tank. Most Blackstone griddles are designed to run on propane out of the box, but many models can be converted using a griddle conversion kit. The key difference lies in the gas pressure and the orifice size: natural gas operates at a lower pressure (about 7 inches of water column) compared to propane (about 11 inches), so the burner jets must be changed to allow the correct flow. Once converted, you connect your griddle directly to a natural gas line, eliminating the need for propane tanks altogether. This setup is ideal for homeowners with a dedicated outdoor kitchen island or a permanent patio cooking station.
Pros of Switching to Natural Gas for Your Griddle
1. Unlimited Fuel Supply
One of the biggest advantages of natural gas is that you never run out of fuel mid-cook. With propane, you’re at the mercy of tank levels—there’s nothing worse than running out of gas while searing steaks or flipping pancakes for a crowd. Natural gas connects directly to your home’s supply, so you have a continuous flow. This is especially valuable for long cooking sessions like smoking, slow-roasting, or hosting multi-course meals on the griddle.
2. Cost Savings Over Time
Natural gas is typically cheaper per BTU than propane. While the initial conversion cost (buying a conversion kit and possibly hiring a plumber) can be $100–$300, the ongoing savings can add up quickly. If you cook frequently, you could recoup your investment within a year or two. Plus, you avoid the hassle and expense of refilling or exchanging propane tanks.
3. Convenience and Safety
No more lugging heavy propane tanks to the store or worrying about them rusting or leaking. Natural gas lines are fixed and regulated, reducing the risk of accidental gas leaks if handled correctly. Many outdoor chefs appreciate the clean, permanent installation that natural gas provides—just turn the knob and cook. Additionally, natural gas is lighter than air, so it dissipates quickly if a leak occurs, making it slightly safer in outdoor environments.
4. Consistent Heat Output
Propane tanks lose pressure as they empty, which can lead to uneven heat and longer preheat times. Natural gas delivers a steady pressure as long as your home supply is active, ensuring consistent performance from the first pancake to the last burger. This is crucial for precision cooking tasks like searing or making delicate crepes.
Cons of Natural Gas Griddle Cooking
1. Higher Initial Installation Cost
Converting your griddle requires purchasing a conversion kit and possibly hiring a licensed gas fitter to run a line to your cooking area. If your outdoor kitchen doesn’t already have a natural gas hookup, the installation can be expensive—especially if the line needs to be buried or run a long distance. This upfront cost can deter some users, but it’s a one-time investment.
2. Permanent Location
Once you convert to natural gas, your griddle is tethered to the gas line. You lose the portability that propane offers. This means you can’t take your Blackstone griddle camping, tailgating, or to a friend’s house. If you value mobility, natural gas might not be the best choice. However, you can keep a separate portable propane griddle for those occasions.
3. Lower BTU Output (Slightly)
Natural gas has a lower energy density than propane. When you convert, the BTU output may drop by 10–20% unless your griddle is specifically designed for natural gas. This can result in slightly longer preheat times or less intense searing heat. For most home cooks, the difference is negligible, but competition-level cooks might notice it.
4. Availability of Conversion Kits
Not all griddle models have official conversion kits, and using an aftermarket kit can void your warranty. Always check with the manufacturer—Blackstone offers specific conversion kits for many of its models. Improper installation can lead to dangerous gas leaks or inefficient burning, so professional installation is strongly recommended.
How to Convert Your Blackstone Griddle to Natural Gas
Step 1: Verify Your Griddle Model and Conversion Kit Compatibility
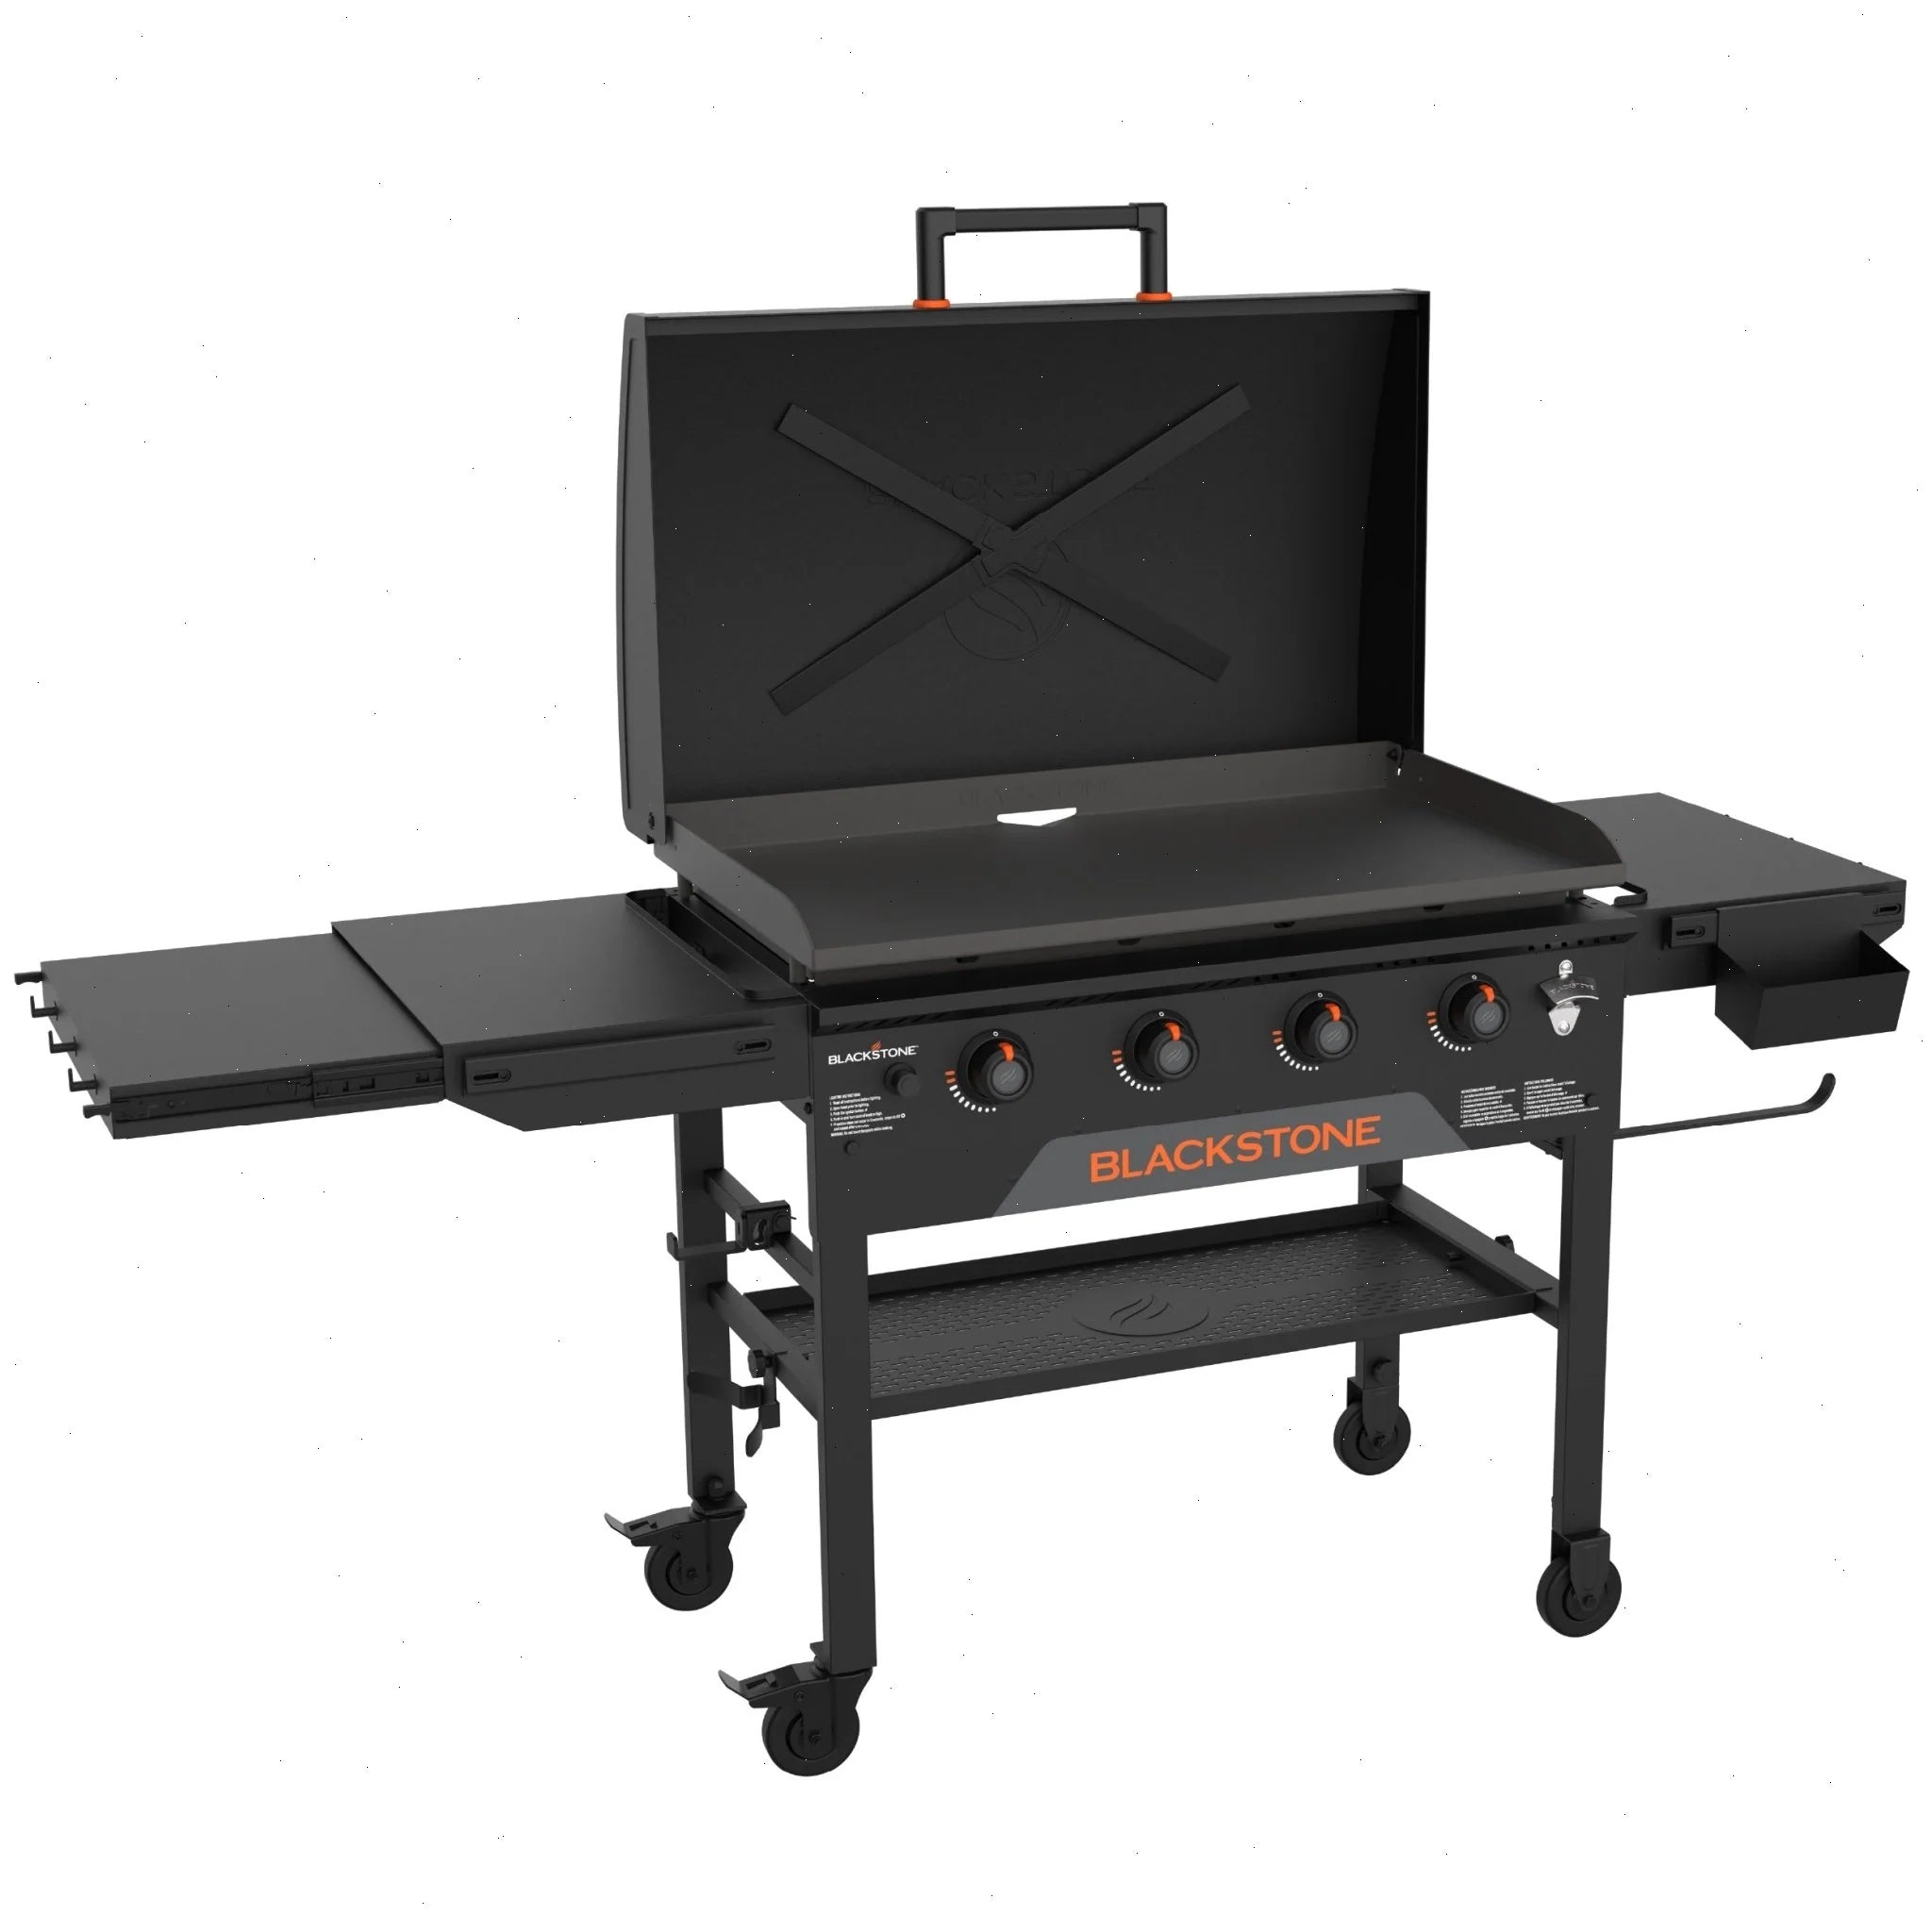
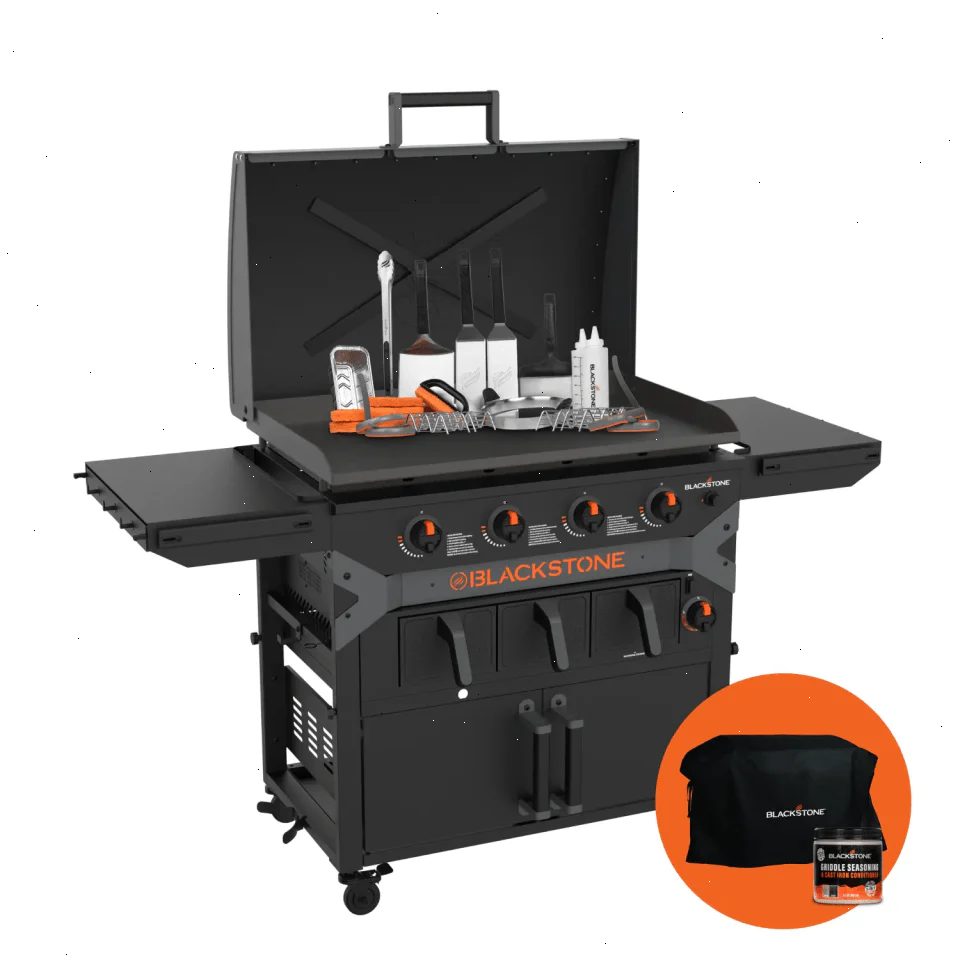
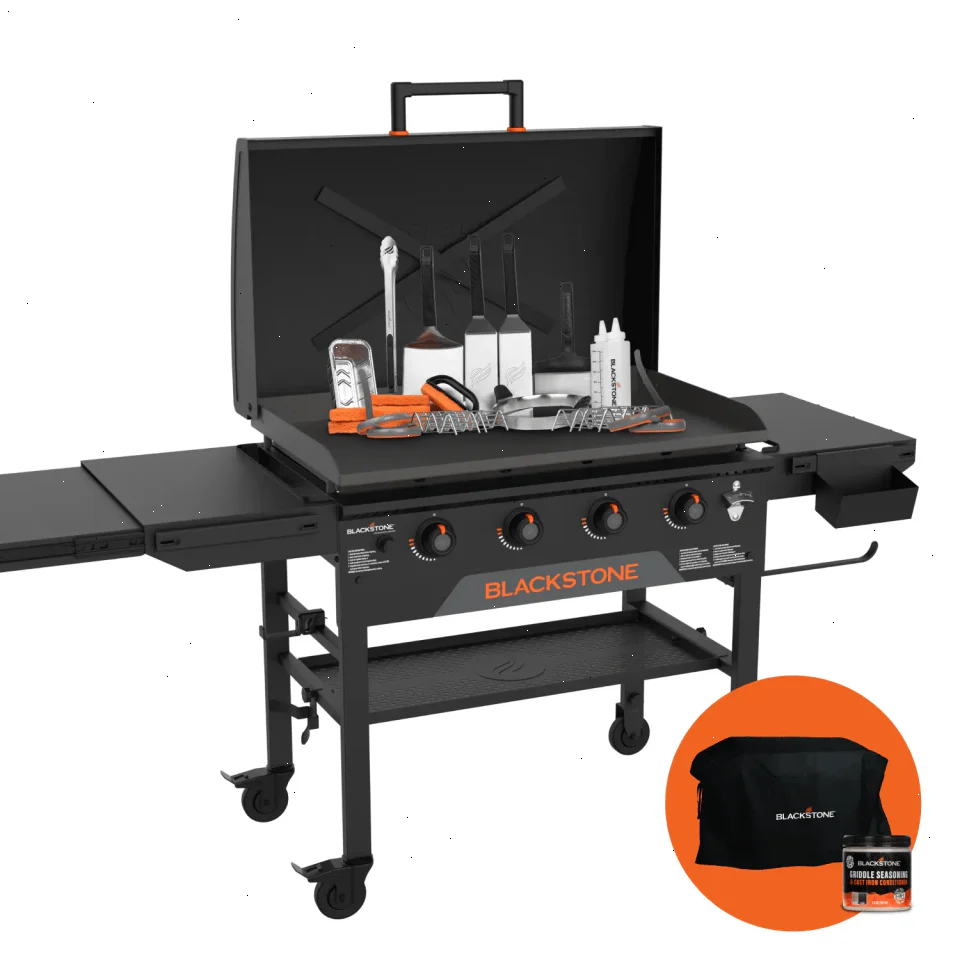
Before you buy anything, check your griddle’s model number (usually on a sticker under the control panel or on the back of the unit). Visit Blackstone’s website or contact support to confirm a conversion kit exists for your model. For example, the popular 36" Griddle W/Hood Bundle often has a compatible kit. Never attempt a conversion without the correct parts.
Step 2: Purchase a Natural Gas Conversion Kit
Buy an official Blackstone conversion kit from an authorized retailer. The kit typically includes replacement orifices for each burner, a new regulator (if needed), and instructions. Avoid generic kits—they may not meet safety standards. While you’re shopping, consider upgrading your cooking arsenal with tools like the Original Hamburger Spatula for better flipping control.
Step 3: Disconnect Propane and Remove the Old Orifices
Turn off the gas supply and disconnect the propane tank. Remove the griddle’s grates or cooktop surface to access the burners. Using a wrench, carefully unscrew the existing propane orifices (the small brass nozzles inside each burner tube). Keep them in a labeled bag in case you ever want to convert back.
Step 4: Install the Natural Gas Orifices and Regulator
Screw in the new natural gas orifices (they are slightly larger to allow more gas flow at lower pressure). Reassemble the burners and attach the natural gas regulator if included in your kit. If your kit requires a different hose, install that as well.
Step 5: Connect to Your Natural Gas Line
This step is best left to a professional unless you’re experienced with gas plumbing. The gas line must be properly sized, have a shut-off valve, and be leak-tested. Use a soapy water solution to check all connections for bubbles. Never use an open flame to test for leaks.
Step 6: Test and Adjust
Turn on the gas and ignite each burner. Observe the flame color—you want a blue flame with minimal yellow tips. If the flame is too yellow or uneven, adjust the air shutter on each burner (usually a small screw near the venturi). Let the griddle preheat for 10 minutes and check for hot spots. A properly converted griddle should heat evenly and maintain temperature.
Natural Gas vs. Propane: Which Is Better for Your Griddle?
The choice ultimately depends on your lifestyle and cooking habits. If you have a dedicated outdoor kitchen and cook frequently at home, natural gas offers unbeatable convenience and long-term savings. If you love camping, tailgating, or rearranging your patio setup, propane’s portability is a major advantage. Many enthusiasts actually keep both: a natural gas setup for their backyard and a portable propane griddle for adventures. For camping trips, consider pairing a portable griddle with the 6 Piece Camping Kit for a complete outdoor cooking solution.
Essential Accessories for Natural Gas Griddle Cooking
Once you’ve converted, make the most of your setup with these tools:
- Cleaning Supplies: Natural gas griddles still need regular care. Use Scrub Pads to remove stubborn residue after each cook.
- Lighting and Visibility: Cooking at night is easier with a Magnetic Puck Light that attaches to your griddle’s frame.
- Spray Coating: Apply Non-stick Griddle Spray between batches for flawless release.
- Organizational Gear: Keep your spatulas and tongs handy with a 1554 Upper Propane Hanger (works great for natural gas setups too).
Frequently Asked Questions
Can I use a natural gas griddle indoors?
No. Even with natural gas, griddles are designed for outdoor use only. They produce carbon monoxide and must be used in a well-ventilated area.
Will converting to natural gas void my warranty?
Possibly, if you use a non-approved kit or perform the installation incorrectly. Always use official Blackstone parts and consider professional installation to maintain coverage.
How long does a conversion take?
If you’re handy, the conversion itself takes about 30 minutes. Running a gas line can take a few hours if you’re doing it yourself or a day if hiring a plumber.
Can I convert back to propane?
Yes, if you keep the original orifices and regulator. Just reverse the steps. But if you’ve permanently installed the gas line, you’ll need a quick-disconnect fitting.
Final Verdict: Is Natural Gas Right for You?
Converting your Blackstone griddle to natural gas is a smart move if you’re ready to commit to a permanent outdoor cooking station. The pros—unlimited fuel, lower costs, and steady heat—often outweigh the cons of reduced portability and higher upfront cost. Just be sure to use an official conversion kit, follow safety steps, and consider professional help for gas line installation. With the right approach, you’ll enjoy seamless, worry-free griddle cooking for years to come.
Ready to upgrade your outdoor cooking setup? Explore the 36" Griddle W/Hood Bundle and start planning your natural gas conversion today!