How to Convert Propane Griddle to Natural Gas: A Complete DIY Guide
By blackstoneproducts | Published: 2026-06-27
Category: How-to Guides
Learn how to convert your propane griddle to natural gas with this step-by-step DIY guide. Includes safety tips, required parts, and product recommendations for Blackstone owners.
If you're looking to streamline your outdoor cooking setup, converting your propane griddle to natural gas is a smart move. Natural gas is cheaper, never runs out mid-cook, and eliminates the hassle of swapping tanks. For Blackstone griddle owners, this conversion is straightforward with the right parts and precautions. In this guide, we’ll walk you through everything you need to know—from the science behind the conversion to step-by-step instructions—so you can enjoy endless cooking power straight from your home's gas line.
Why Convert Your Propane Griddle to Natural Gas?
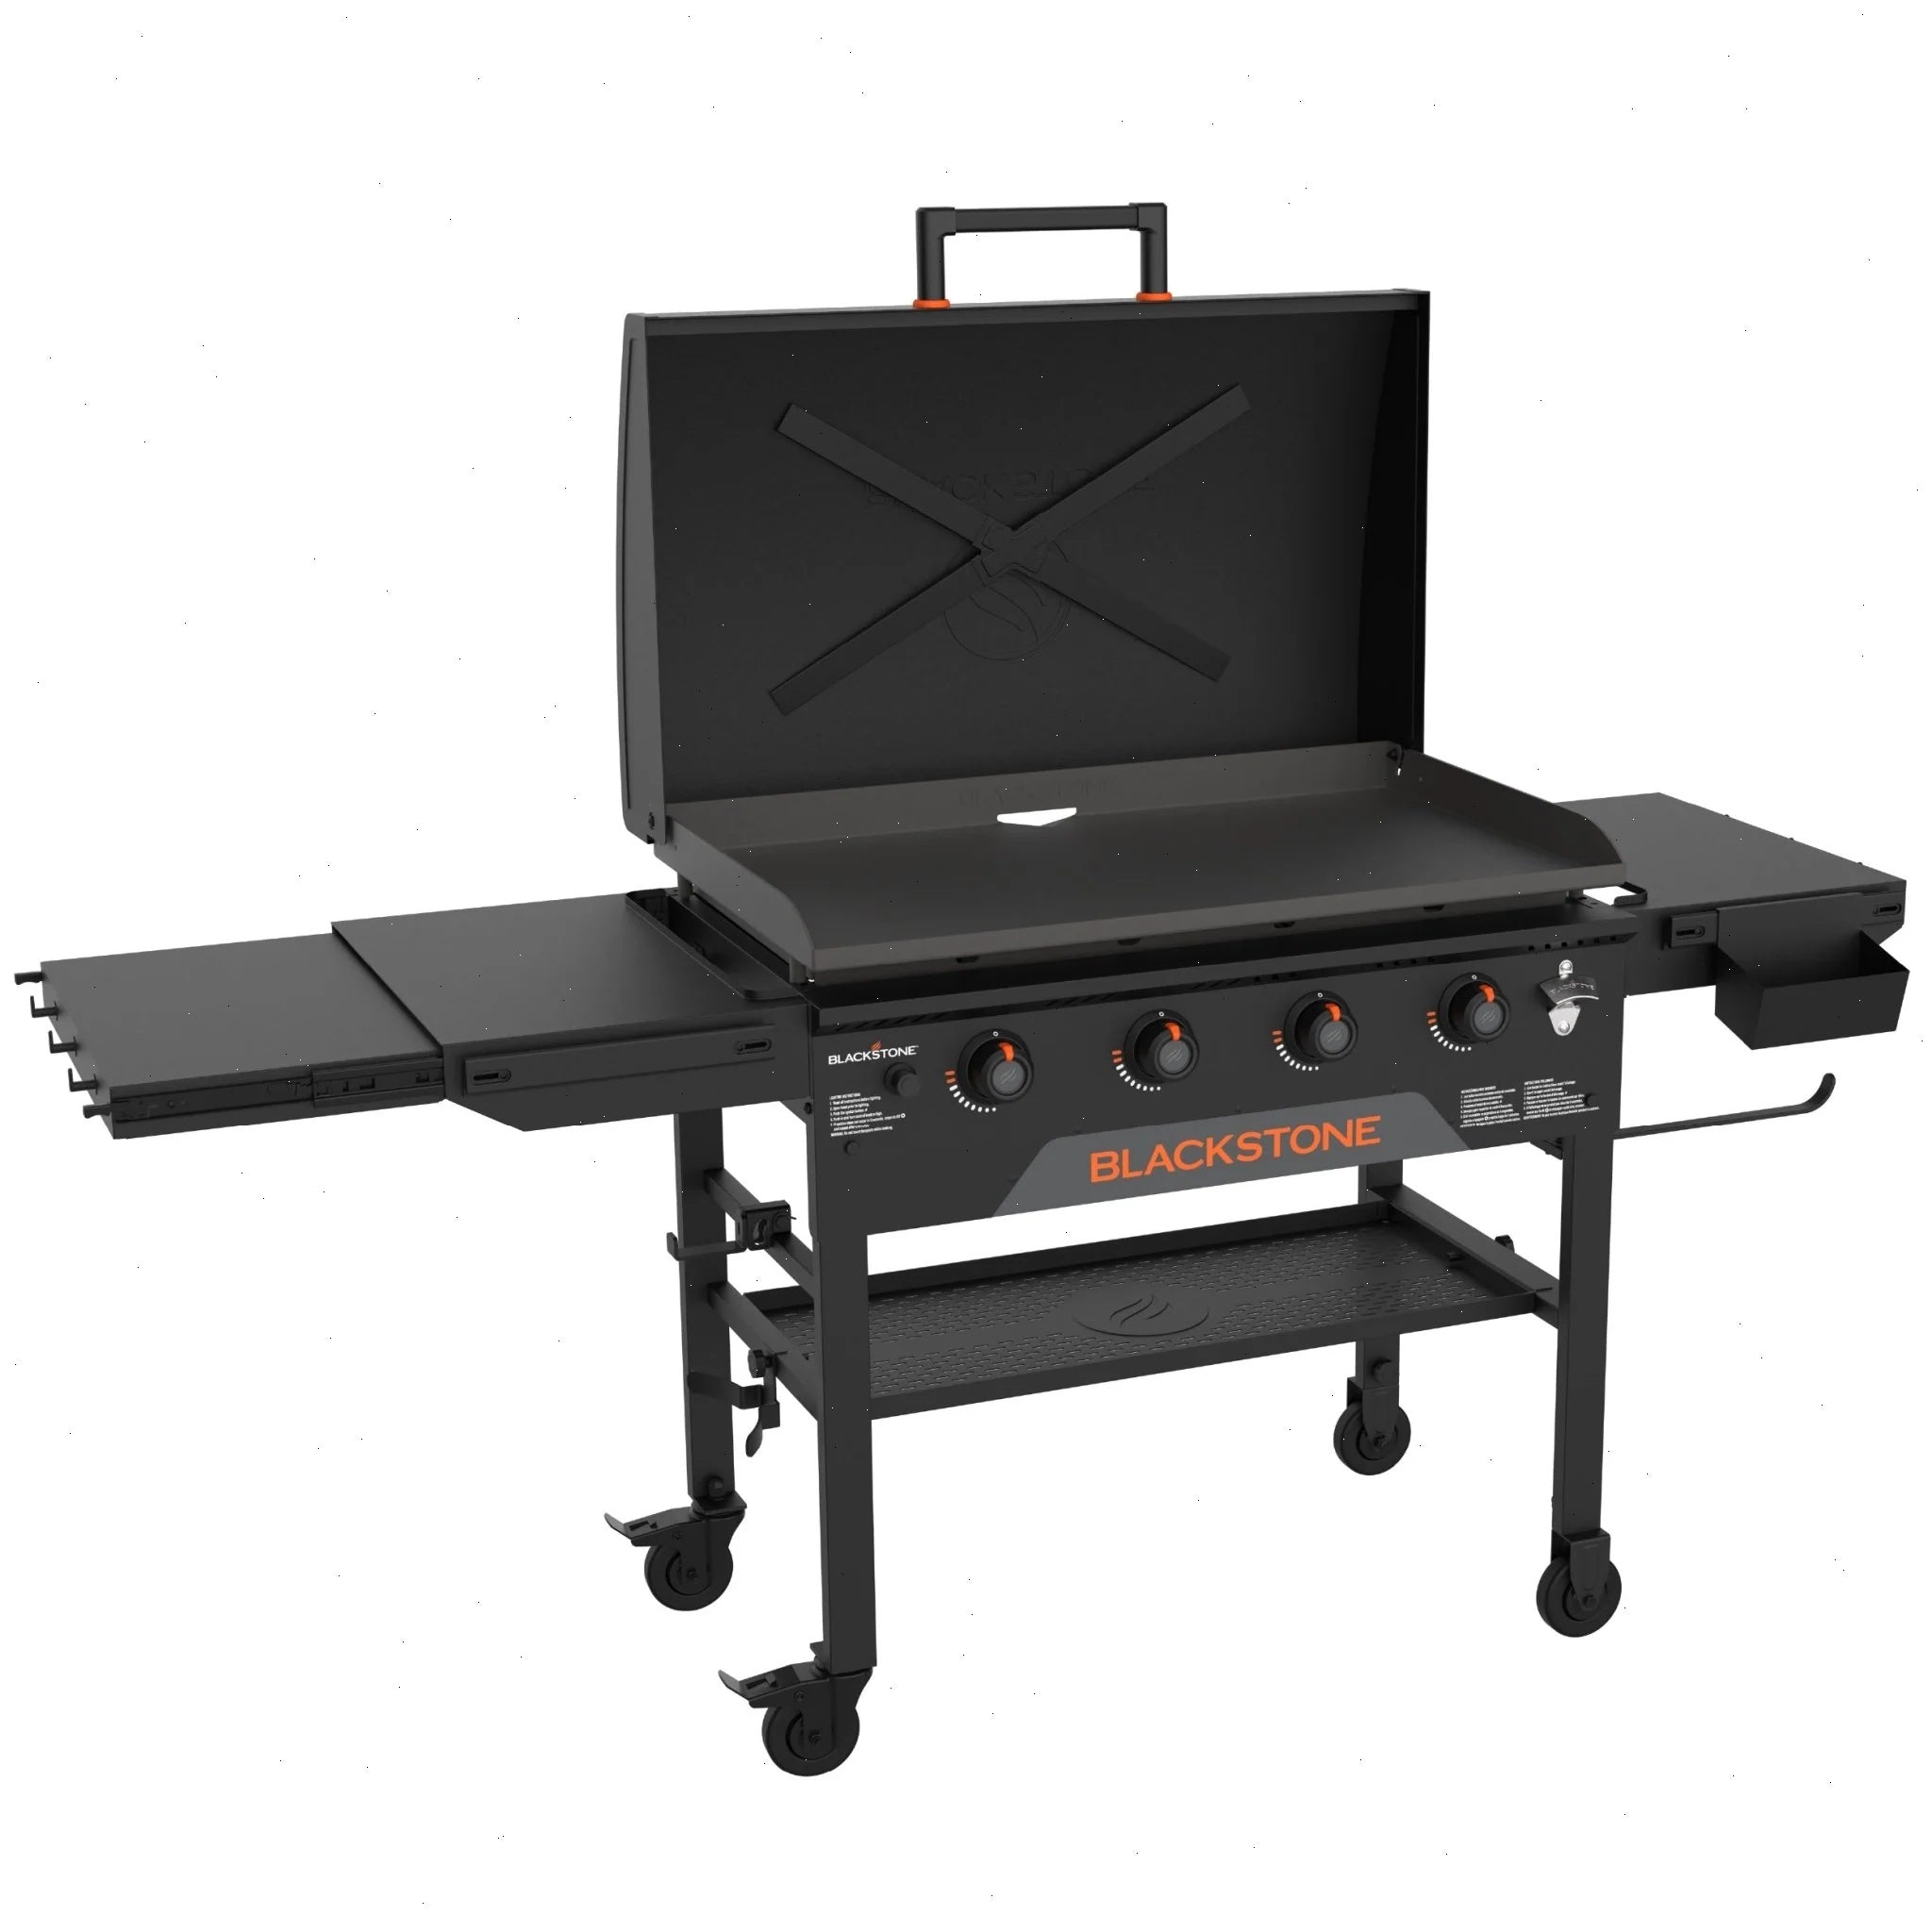
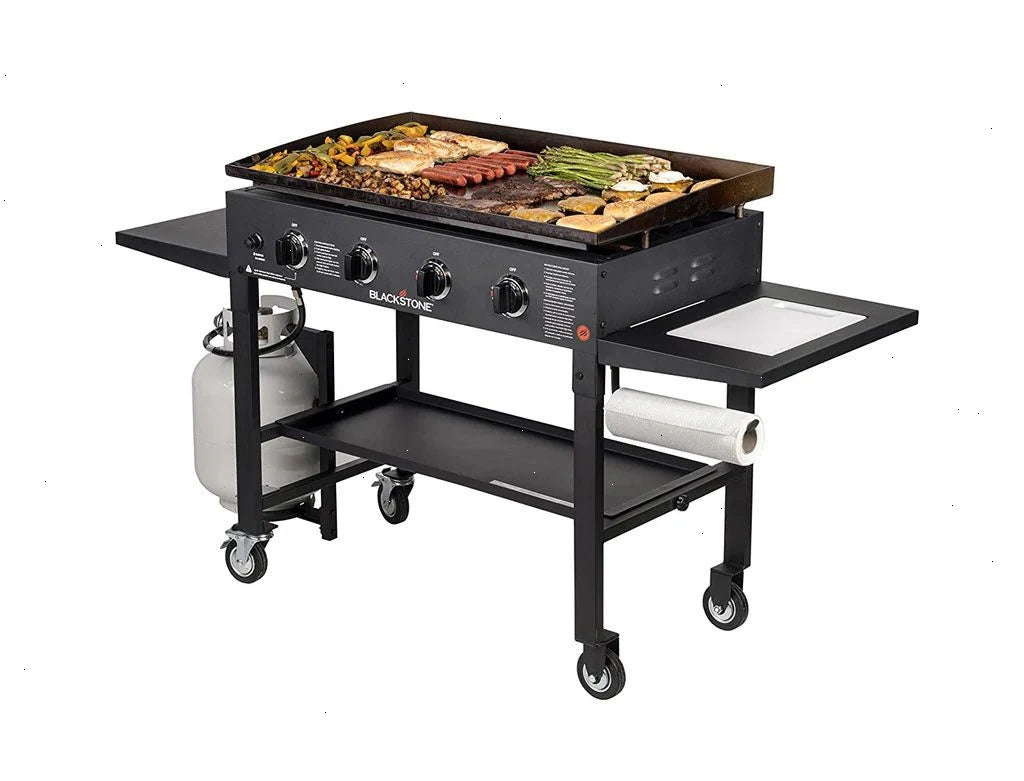
Propane is a fantastic fuel, but it has drawbacks: tank refills, storage, and the risk of running out during a big cookout. Natural gas offers a continuous supply, lower fuel costs, and a cleaner burn. Many outdoor kitchen enthusiasts prefer natural gas because it integrates seamlessly with built-in grills and griddles. If you own a Original 36in Griddle Cooking Station W/Cutting Board, converting to natural gas can turn it into a permanent fixture in your outdoor kitchen.

What’s Different About Natural Gas vs. Propane?
Natural gas and propane are both hydrocarbons, but they have different energy densities and pressure requirements. Propane is stored under higher pressure (around 100–200 psi) in tanks, while natural gas is delivered through utility lines at much lower pressure (about 0.25 psi). Because of this, a propane griddle’s gas jets and regulators are calibrated for propane’s higher energy output. To safely burn natural gas, you must change the orifice size and often the regulator. This is why a dedicated conversion kit is essential—never attempt to use a propane griddle on natural gas without the correct parts.
What You’ll Need for the Conversion
Before starting, gather these tools and components:
- Natural gas conversion kit for your specific griddle model (includes new orifices, a natural gas regulator, and sometimes a new gas valve)
- Adjustable wrench and screwdrivers
- Pipe thread sealant (yellow Teflon tape rated for gas)
- Soapy water for leak testing
- Safety gloves and eye protection
If your griddle uses a standard propane tank connection, you may also need a Bulk tank adapter w/ regulator to interface with your home’s gas line, but check the kit requirements first.
Step-by-Step Conversion Process
Step 1: Turn Off & Disconnect the Propane Supply
Close the propane tank valve completely. Disconnect the regulator hose from the tank. If your griddle is connected to a bulk propane tank, follow your supplier’s shutoff procedure. Ensure all gas valves on the griddle are in the OFF position.
Step 2: Remove the Burner Assembly and Orifices
Remove the griddle top or cooking surface (usually held by screws or clips). Carefully lift out the burner tubes. You’ll see small brass orifices at the gas inlet of each burner. Use a wrench to unscrew them. Keep the old orifices in case you ever want to convert back to propane.
Step 3: Install the Natural Gas Orifices
Thread the new natural gas orifices (included in your conversion kit) into the burner inlets. Hand-tighten first, then use a wrench to snug them gently. Do not overtighten—brass can crack. Apply a small amount of pipe thread sealant to the threads for extra security.
Step 4: Replace the Regulator (if required)
Some conversion kits include a dedicated natural gas regulator. If yours does, disconnect the existing propane regulator and install the new one. The natural gas regulator will have a lower output pressure (typically 4–7 inches water column) and a different inlet fitting to match a gas hose or quick-connect line. Follow the kit’s instructions carefully.
Step 5: Reassemble the Burners and Griddle
Place the burner tubes back into position, ensuring they sit securely over the orifices. Reattach the griddle top or cooking surface. Double-check that all fasteners are tight and no gas lines are pinched.
Step 6: Connect to the Natural Gas Line
Using a flexible gas hose rated for natural gas (often a 3/8-inch or 1/2-inch connector), attach your griddle to the gas line. For outdoor kitchens, this is usually a shutoff valve with a quick-connect fitting. Turn the gas supply on at the source.
Step 7: Leak Test Every Connection
Mix a solution of equal parts water and dish soap. Brush it onto every gas connection: the regulator inlet, the orifice-to-burner joints, and the hose fittings. Turn on the gas (but do not ignite the burners). If you see bubbles forming, you have a leak. Tighten the connection or apply more sealant. Repeat until no bubbles appear. Never use a flame for leak testing.
Step 8: Light the Burners and Adjust
Ignite each burner one at a time. The flame should be blue with a slight yellow tip. If the flame is too high or low, consult your kit’s instructions for air shutter adjustment. Allow the griddle to heat up for 10 minutes to burn off any manufacturing oils.
Safety Precautions for Natural Gas Griddle Conversion
- Always use a certified conversion kit—never modify orifices yourself.
- Check local building codes—some areas require a licensed plumber or gas fitter to connect natural gas appliances.
- Install a gas shutoff valve within easy reach of the griddle.
- Never use a natural gas griddle indoors—carbon monoxide is still a risk.
- Test for leaks annually and after moving the griddle.
Common Mistakes to Avoid
One of the biggest errors is using a propane regulator with a natural gas line—this can cause dangerous pressure buildup. Another is skipping the leak test. Even a tiny leak can lead to a fire hazard. Also, don’t assume all conversion kits are universal. Always buy a kit designed for your specific Blackstone model. For example, the 1517/1605 Propane Bar has different orifice sizes than larger griddles, so verify compatibility.
Can You Convert Back to Propane?
Yes, but it’s not just a matter of reconnecting the tank. You must reinstall the original propane orifices and regulator. Keep your old parts in a labeled bag for future use. If you move the griddle to a different location, you may need to convert it again. Some Blackstone owners keep both sets of parts for flexibility.
Cost Savings of Natural Gas vs. Propane
| Fuel Type | Average Cost per BTU | Annual Cost (Typical User) |
|---|---|---|
| Propane (20 lb tank) | $0.03–$0.05 | $120–$200 |
| Natural Gas (utility) | $0.01–$0.02 | $40–$80 |
Over a year, natural gas can save you 50–70% on fuel costs. Plus, you never have to worry about running out mid-cook or hauling heavy tanks to the store. For frequent griddlers, the conversion pays for itself within a season or two.
When to Call a Professional
If you’re not comfortable working with gas fittings, or if your local code requires a licensed professional, hire a plumber or gas appliance technician. Some homeowners have had success with DIY conversions, but safety should always come first. A professional will also ensure your griddle meets local natural gas pressure standards, which can vary by region.
Final Tips for a Successful Conversion
After converting, give your griddle a full seasoning cycle to protect the cooking surface. The heat distribution may feel slightly different at first—natural gas produces a slightly lower flame temperature than propane, but the cooking performance is nearly identical once you adjust. Use a quality griddle seasoning oil and follow Blackstone’s care guidelines. For cleaning after natural gas use, consider the Adventure Ready Cleaning Kit to keep your griddle in top shape.
Converting your Blackstone griddle to natural gas is a rewarding DIY project that enhances your outdoor cooking experience. With lower costs, no tank swaps, and a constant flame, you’ll enjoy uninterrupted cookouts for years to come. Ready to get started? Explore the Bulk tank adapter w/ regulator to begin your conversion setup today.